How To Tie A Sailor Knot Bracelet - Booklet and Cord

Introduction
At Fork + Rose, we are passionate about helping you express your personal style through unique and trendy accessories. Our Sailor Knot Bracelet - Booklet and Cord is the perfect choice for individuals who love to accessorize with a touch of nautical inspiration. In this comprehensive guide, we will walk you through the process of tying a sailor knot bracelet, making it easy for you to create your very own fashionable accessory.
Why Choose Our Sailor Knot Bracelet - Booklet and Cord
When it comes to finding the perfect accessory, it's all about making a statement. Our Sailor Knot Bracelet - Booklet and Cord offers a unique blend of style and functionality, making it a must-have addition to your collection. Here are a few reasons why you should choose our product:
- Trendy Designs: Our sailor knot bracelets are designed to be on-trend, adding a fashionable touch to any outfit.
- High-Quality Materials: We use only the finest materials to ensure durability and longevity, allowing you to enjoy your bracelet for years to come.
- Comprehensive Booklet: Our included booklet provides detailed step-by-step instructions, making it easy for beginners and enthusiasts alike to tie their own sailor knot bracelets.
- Versatility: Our product comes with a cord that can be customized to suit your personal style, allowing you to create unique designs and variations.
Step-By-Step Guide: How To Tie A Sailor Knot Bracelet
Follow these simple steps to tie your very own sailor knot bracelet:
Step 1: Prepare Your Materials
Before you start, gather the following materials:
- 1 Sailor Knot Bracelet - Booklet and Cord from Fork + Rose
- A pair of scissors
Step 2: Measure and Cut the Cord
Use the cord provided and measure it around your wrist, leaving some extra length for tying the knot. Cut the cord accordingly.
Step 3: Create the Initial Loop
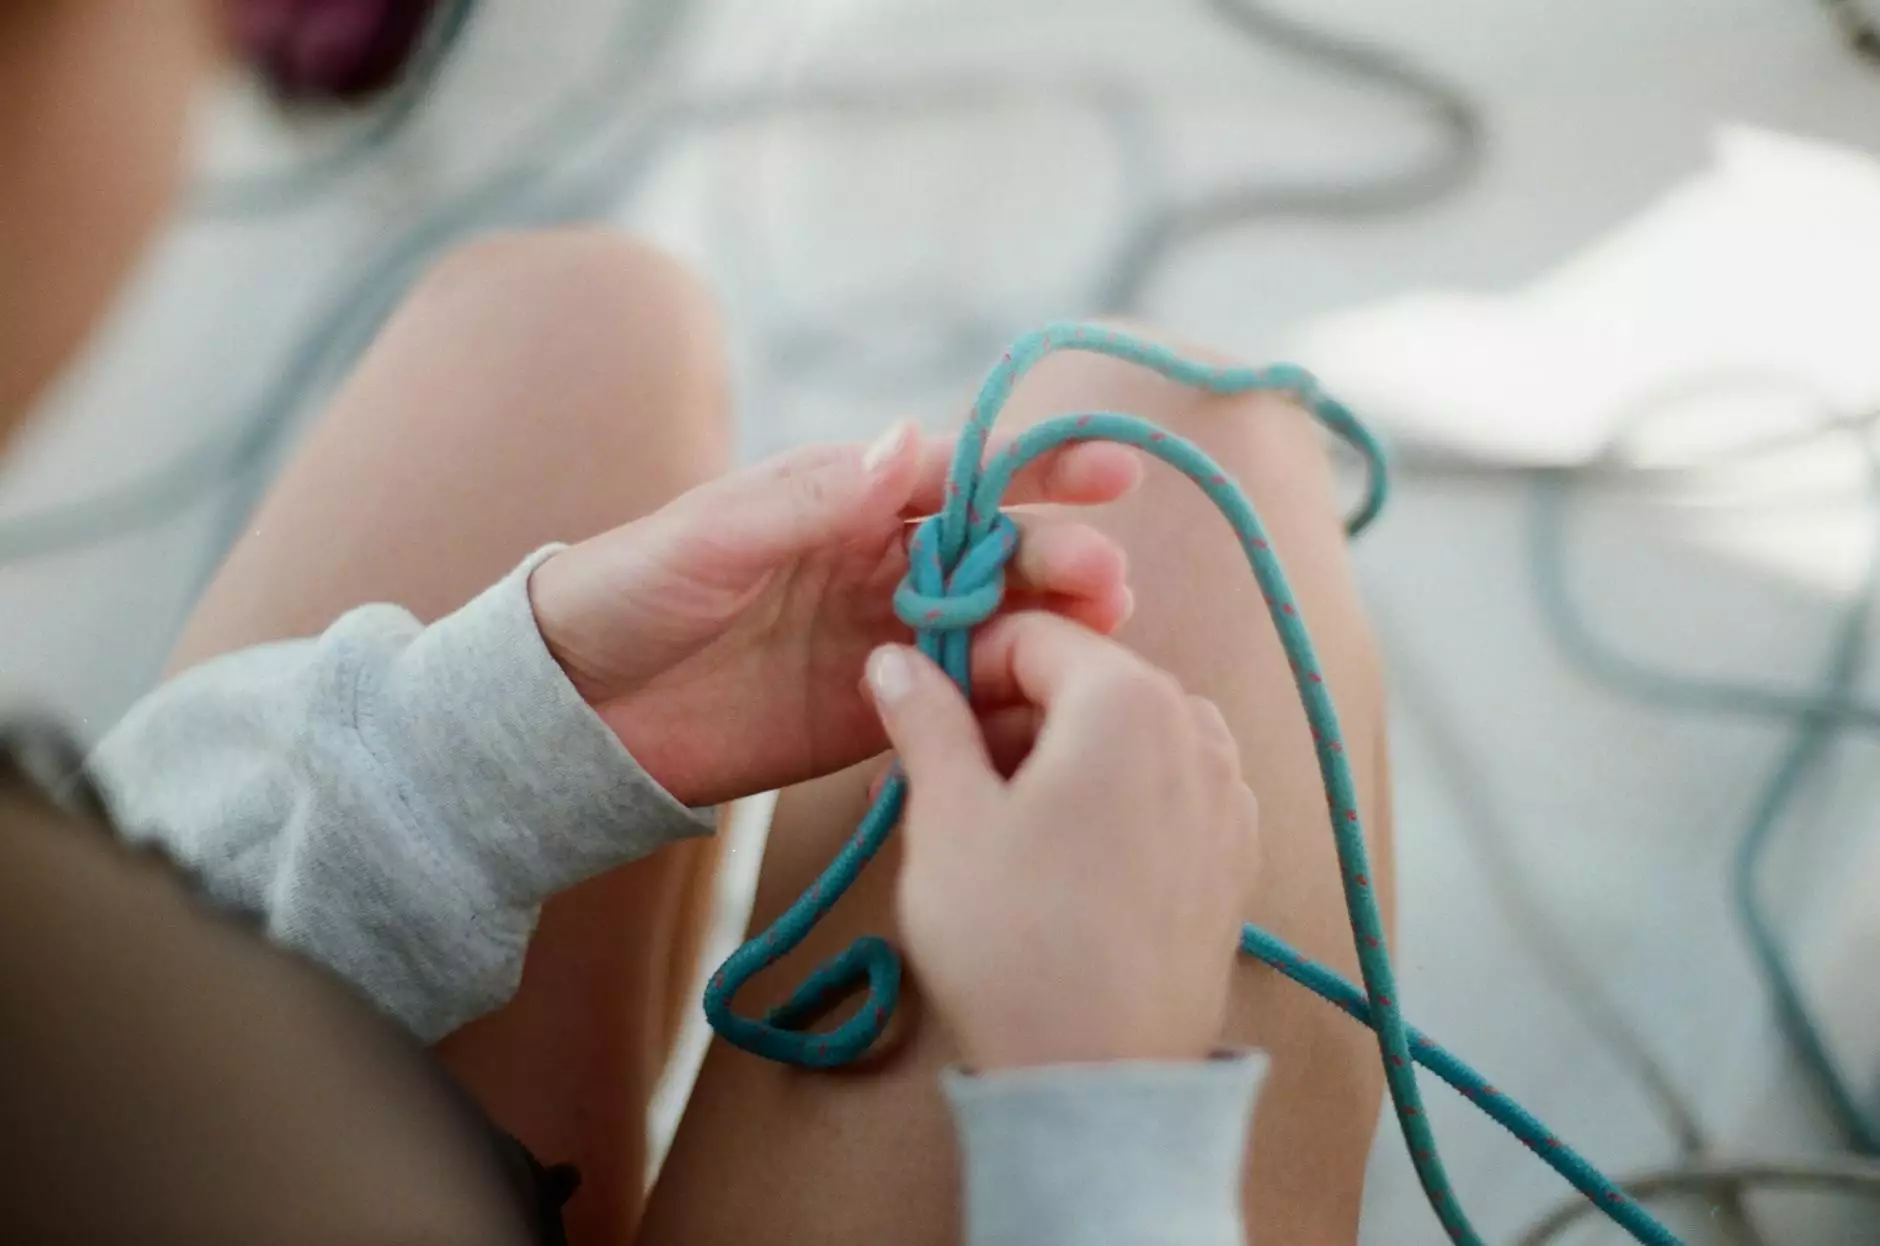
Take the cord and create a loop, leaving a short end on one side. Cross the long end over the short end, forming an "X" shape.
Step 4: Tie the First Knot
Take the end of the long cord and pass it over the short end, slipping it through the loop. Pull both ends of the cord to tighten the knot. You have just tied your first sailor knot!
Step 5: Repeat the Knotting Process
Continue tying additional knots, alternating the starting side with each knot. This will create the signature sailor knot pattern. Repeat until the bracelet reaches your desired length.
Step 6: Secure the Bracelet
Once you've reached the desired length, tie a final knot to secure the bracelet. Trim any excess cord with scissors, ensuring a clean and polished finish.
Accessorizing with Your Sailor Knot Bracelet
Now that you have your beautiful sailor knot bracelet, it's time to style it with your favorite outfits. Here are a few stylish ideas:
1. Casual Chic
Pair your sailor knot bracelet with a white t-shirt, distressed jeans, and sandals for a relaxed yet stylish look.
2. Beach Boho
Combine your bracelet with a flowy maxi dress, oversized sun hat, and flip-flops for a bohemian-inspired beach ensemble.
3. Office Elegance
Wear your bracelet to the office by pairing it with a tailored blazer, crisp dress shirt, and tailored trousers for a touch of sophistication.
Conclusion
Now that you know how to tie a sailor knot bracelet using our comprehensive booklet and cord, it's time to unleash your creativity and create your very own trendy accessories. At Fork + Rose, we believe that style is a form of self-expression, and our Sailor Knot Bracelet - Booklet and Cord provides the perfect opportunity to showcase your unique fashion sense.
Don't miss out on the chance to elevate your accessory game. Order our Sailor Knot Bracelet - Booklet and Cord today and embark on an exciting journey of creating beautiful sailor knot bracelets that will make a statement wherever you go.


